
- Joined
- May 29, 2025
- Messages
- 138
- Media
- 15
- Reaction score
- 243
- Location
- Albuquerque
- Current Ride
- 2026 RHO
- Current Ride #2
- 2010 Mini Cooper JCW Championship 50 Edition
Thank you!I’m not a mechanic, but I’m “YouTube Certified” on simple repairs. On a scale of 1-10 with “1” being changing a tire and “10” being something I would take to the dealer I’d rank it a “5”.
The first clip in the video took some pushing and it made a disconcerting snap when released but no problem, the clips are very durable and made of pliable plastic (same as the body panel), not hard/brittle.
I used painters tape liberally on all the bumper, grill, and body panel edges, just in case.
Push DOWN on the clips. I made the mistake of pushing the last clip backwards through until it was stuck pointing up and impossible to pull off. So, it took me some time to situate the grill in a way that allowed me to get behind the clip, push it down, and release the grill from the body panel. Sounds worse than it was, but suffice to say the clip went through some twisting and flexing and did not break. Push DOWN on the clips!
A set of inexpensive plastic body tools with a push pin puller is very helpful. Also, you’ll want to use deep sockets and an extension to get the three 10mm bolts on the lower corners of the grill. A handheld impact driver is a nice to have (I used a relatively inexpensive Ryobi that works with my batteries).
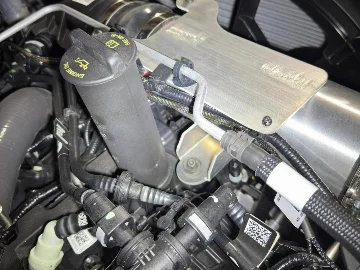
The most difficult part was pulling the auxiliary wires out where I could work with them. The assembly guys at the plant taped them well. That said, wiring was the easiest part. The video doesn’t show him heating the crimp connectors once the wires are connected, so don’t forget that part to make it watertight!
If you follow the directions in the video, take it slow, you’ll be fine.